A kite can pull hard before a rider has time to react. That is why Kiteboarding safety systems deserve more than a quick look at product labels. In 2026, riders can compare quick-release mechanisms, kite leashes, helmets, impact vests, and communication tools. The key question is whether each component works together under real load, with cold hands, tangled lines, or a difficult launch. Small details matter. A release handle hidden beneath a twisted chicken loop is not much help.
The U.S. Coast Guard’s 2023 Recreational Boating Statistics recorded 564 boating fatalities; 75% involved drowning, and most drowning victims were not wearing life jackets. These figures cover recreational boating, not kiteboarding specifically, so they should not be treated as kite-specific risk estimates. They do underline the value of flotation and preparation. For equipment evaluation, ISO 21853:2019 sets safety requirements and test methods for kiteboarding release systems. Standards help, but they cannot replace practice. A release that works in a test may still feel unfamiliar in a gust. This guide compares practical safety features, fit, inspection routines, and rider training, while noting where public evidence remains limited. No system removes risk. That part is easy to forget.
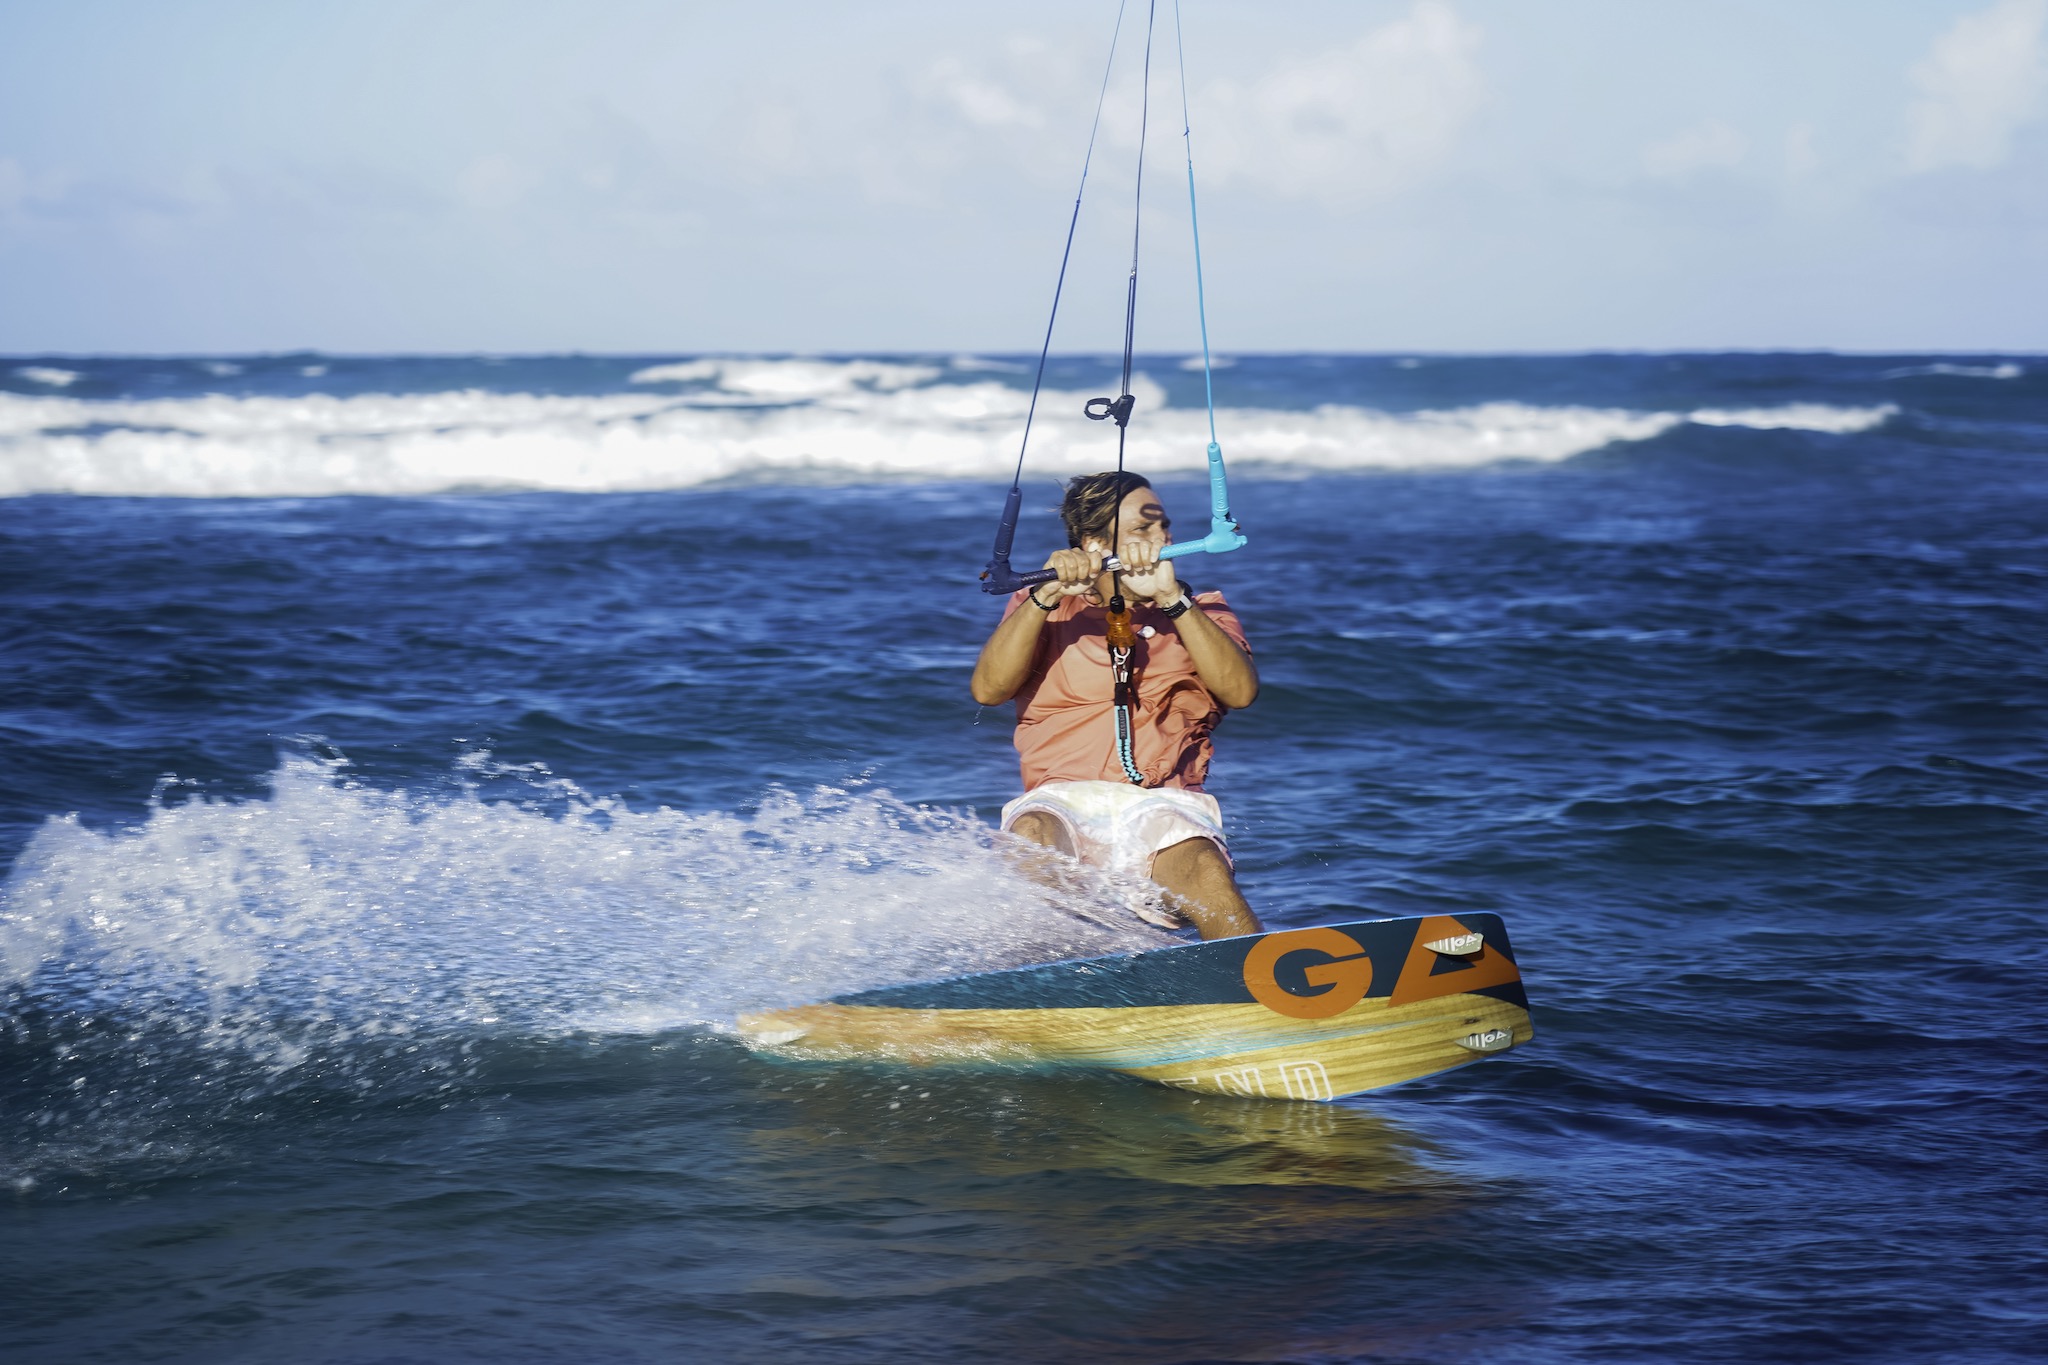
Kiteboarding safety systems work as a chain, not a single button. At the bar, the primary quick release separates the rider from the kite’s main connection. When activated, it should let the kite flag onto a designated line and lose most of its pull. The exact layout differs by control system, so read its manual and confirm the release path before riding. Keep the release reachable, unobstructed, and free of sand or tangled lines. Small details matter.
A kite leash provides a second connection after the primary release. Its own quick release lets a rider disconnect if the flagged kite still pulls or creates danger. The chicken loop, leash attachment, and depower line must all move freely; corrosion, worn stitching, or a jammed swivel can compromise them.
Inspect these parts before each session, then test releases on land in a controlled setup. Practice resetting them, too. Under stress, unfamiliar hardware feels different. A helmet and impact vest can reduce some injury risks, but they cannot replace working releases, suitable conditions, or clear space downwind.
One easy mistake is rushing the check when the water looks inviting. A deliberate pause is worth making.
Quick-Release Systems: Types, Operation, and Key Differences
A kiteboarding quick-release system is designed to reduce power or disconnect you during an emergency. Most setups have a primary release near the chicken loop and a separate release on the safety leash. Releasing the primary system usually lets the kite flag out while remaining connected to the leash. Releasing the leash fully separates you from the kite. That final step can create additional risks, so it is generally reserved for situations where staying connected is more dangerous.
Release designs differ in how they activate. Some use a push-away sleeve; others use a pull tab or a different motion. The right choice is the one you can locate and operate quickly under load, with cold hands or poor visibility. Follow the instructions for your specific bar, and check how it resets. A system that works during a calm practice may feel different when lines are tangled or tension is high. Practice on land. Then rehearse in controlled conditions with qualified instruction.
Tips: Before each session, inspect the release for sand, wear, or sticking. Keep the handle unobstructed. Check it often. I would not assume a familiar design will behave identically across different bars.
A kite leash and a depower system serve different purposes during an emergency. The leash keeps the kite connected after the main quick release is activated, usually allowing it to flag onto a designated safety line. This can sharply reduce pull, but it cannot guarantee a powerless kite. A twisted line, incorrect routing, or incompatible setup may prevent clean flagging. Check the leash connection, release access, and line path before launching. Practice releasing and resetting on land with the kite secured and guidance from a qualified instructor. Small details matter.
Depower controls, such as a trim strap, adjust kite power during normal riding. They are not a substitute for the quick release when control is lost. In gusty wind, pulling the bar in by instinct can increase power. Letting the bar out may help, but only within the kite’s operating range and conditions. Follow the instructions for your specific system. Inspect worn stitching, sticky releases, and tangled safety lines regularly. One successful drill can create false confidence. Practice consistently, but never create extra risk just to test a system.
A useful comparison starts with the release sequence, not the number of handles. Check how the primary release disconnects the kite, then how the leash release works if the first step is not enough. Each should be reachable with either hand, including when you are pulled sideways. Try the motions on land, following the equipment instructions. Small details matter.
Next, compare reset and compatibility. A system is only practical if you can reassemble it correctly and confirm it has locked. Look for clear visual cues, a simple reset, and parts that fit your bar and leash setup. Pull the mechanism under light tension during a controlled check; a clean click is reassuring, but it is not proof that every part is sound. Salt, sand, and worn cord can change how a release moves.
Comfort matters too. Handles should be easy to find by touch, yet unlikely to snag during ordinary riding. Ask an experienced instructor to watch you rehearse the sequence, then notice where you hesitate. That awkward pause is useful evidence. I would not rank systems by appearance alone; even a well-designed mechanism can be unfamiliar, and practice is easy to neglect. Check it before sessions, and follow the maker’s inspection and replacement guidance.
Before each ride, inspect the full safety system in good light. Check the kite leash, release handle, chicken loop, and visible line connections for fraying, cracks, salt buildup, or sand. Pull each release only as directed in its manual, with the kite secured and the system unloaded. Confirm it resets correctly. Quick check, every time. Then ask a riding partner to verify that the leash is attached to the intended point and nothing is twisted. A clean-looking line can still be worn inside; appearance alone is not enough.
Practice finding and operating your releases on land, using the manufacturer’s instructions and a controlled setup. Repeat until the movement feels familiar, but do not treat practice as proof that equipment is sound. After riding, rinse salt and grit with fresh water, let components dry fully, and store them away from heat and direct sunlight. Avoid adding lubricant unless the instructions allow it. Replace damaged or unreliable parts before returning to the water. It is tempting to skip checks when the wind is perfect. That shortcut is hard to defend. A simple inspection log can reveal wear patterns you might otherwise miss.
| Safety system | What it does | Pre-ride inspection | Practice and use | Care and replacement cues |
|---|---|---|---|---|
| Primary chicken-loop quick release | Disconnects the rider from the main kite connection when activated. | Check that the release is correctly assembled, unobstructed, and resets and locks securely. Inspect the loop, connection points, and moving parts for wear, corrosion, or damage. | Know the release motion for your specific system. Rehearse its location and operation on land in controlled conditions; follow the system instructions for any functional test. | Rinse salt and sand away with fresh water and let it dry. Do not ride if it sticks, fails to lock, or shows damaged or badly worn parts. |
| Safety leash and leash release | Keeps the kite connected after the primary release; the leash release allows the rider to disconnect from the kite when necessary. | Inspect the leash webbing, stitching, clips, and release for cuts, fraying, corrosion, or jamming. Confirm the leash is attached to the intended safety connection—not an improvised point. | Practice locating and operating the leash release as a separate action from the primary release. Understand how your setup behaves after each release. | Keep clips and release parts clean and moving freely. Replace a leash or component with compromised stitching, damaged hardware, or unreliable release action. |
| Flag-out and depower path | Reduces kite pull after a safety release, according to the design of the kite and control system. | Trace the safety line through the bar and check for twists, knots, snags, wear, or incorrect routing. Verify that the line can run freely as intended by the system instructions. | Learn the expected flag-out behavior for your exact kite setup. Practice release procedures in a supervised, low-risk setting; do not assume all systems depower the same way. | Rinse and inspect the safety line regularly, especially after sand or salt exposure. Stop using the setup if the line is damaged or cannot move as designed. |
| Control bar, flying lines, and connectors | Transmit steering and safety inputs between the rider and kite. | Lay lines out without crossing and check for knots, cuts, abrasion, damaged loops, or loose connections. Confirm the line arrangement and connection points match the kite instructions. | Before launch, verify that steering inputs and the safety system are set up correctly. Have a trained helper confirm the launch setup when possible. | Rinse off salt and grit, dry before storage, and avoid sharp bends or prolonged UV exposure. Retire lines or connectors with visible damage or uncertain strength. |
| Harness and rider connection | Transfers kite load to the rider and provides the designated attachment point for the control system. | Check harness webbing, stitching, buckles, spreader bar, and keeper or locking features. Confirm the connection is secure and the release path is accessible. | Practice checking the connection before entering the water. Make sure clothing or accessories do not block access to either release. | Rinse and dry after use. Remove damaged harnesses or hardware from service; do not modify load-bearing parts. |
| Kite structure and inflation valves | A sound canopy, leading edge, struts, and valves help the kite maintain its intended shape and controllability. | Check canopy and seams for tears, inspect leading-edge and strut bladders for leaks or soft spots, and ensure valves and connectors are secure. | Inflate and prepare the kite according to its instructions. Do not launch a kite that is losing pressure or has damage that could affect control. | Clean and dry before storage. Repair damage using suitable materials and methods; have uncertain structural repairs assessed by a qualified repairer. |
| Rider readiness and site conditions | Complements equipment safety by reducing exposure to unsuitable wind, hazards, and conditions beyond the rider’s ability. | Assess wind strength and direction, forecast changes, launch and landing space, water hazards, and local rules. Use appropriate protective gear and a suitable board leash policy for the location. | Build skills through qualified instruction and progressive practice. Do not ride alone in unfamiliar or hazardous conditions; know how to signal for help. | Reassess conditions throughout the session. End the ride if weather, visibility, equipment, or rider fatigue makes safe control uncertain. |
Safety note: Safety-system layouts and operating procedures vary. Follow the instructions for your specific equipment, practice under qualified supervision, and do not ride with a damaged or malfunctioning system.