
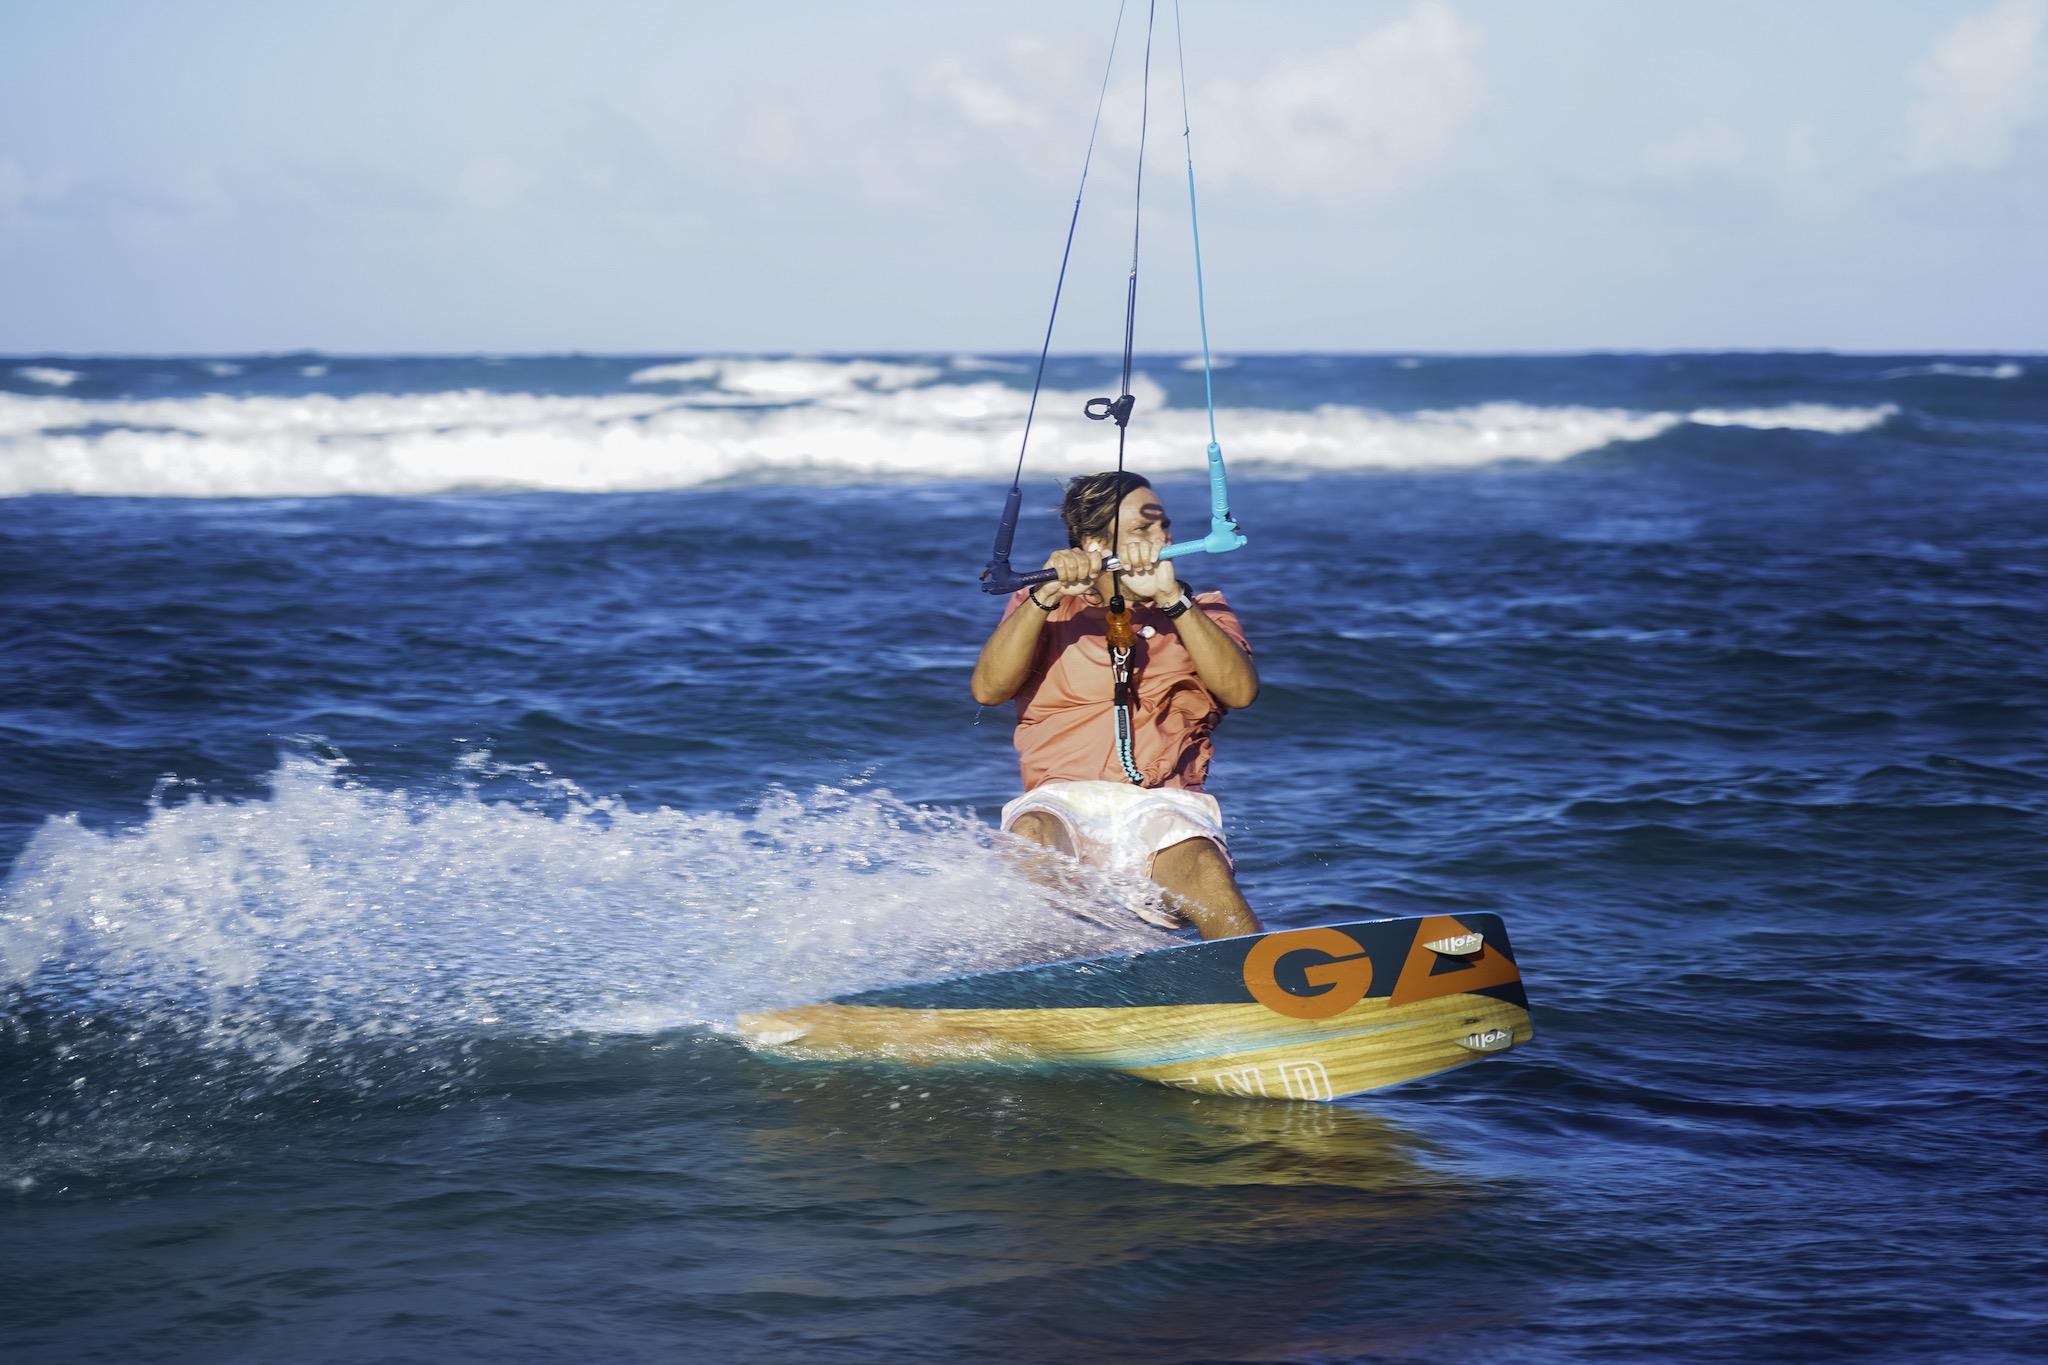
Top 10 Kiteboarding Techniques for Beginners
Learning to kiteboard can feel thrilling and awkward at the same time. The kite pulls, the board wobbles, and even standing still may take concentration. Kiteboarding techniques become easier to understand when beginners practice them in a sensible order, with room to make mistakes.
This guide introduces ten foundational skills, from checking equipment and reading wind conditions to controlling the kite and beginning a water start. Each technique depends on calm, deliberate practice. A qualified instructor can help you choose an appropriate launch area, fit your safety gear, and recognize when conditions are beyond your ability. Wind changes. So should your decisions. Never assume yesterday’s conditions will repeat today.
Expect progress to be uneven. You might steer smoothly on land, then tense up when the board touches the water. That is normal, though it can be frustrating. Focus on one clear cue at a time: keep your eyes on the kite, maintain a comfortable stance, and listen to instruction. These details matter more than trying to ride far on your first session. The techniques here are a starting point, not a substitute for supervised lessons or local safety guidance. Some days, the best practice is packing up early. That takes judgment, too.
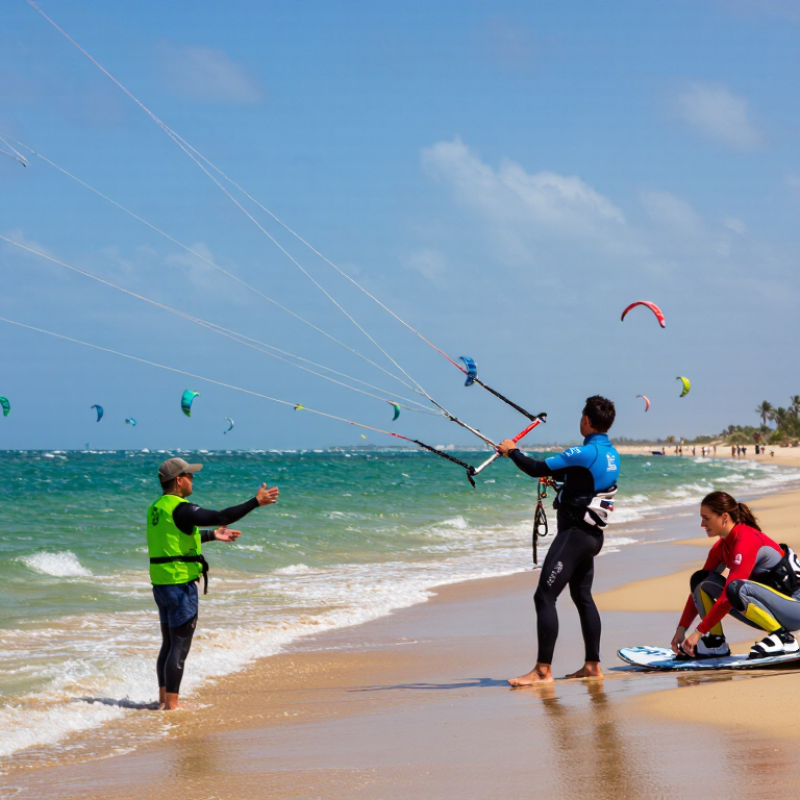
Preparing Equipment and Assessing Wind and Water Conditions
Before riding, lay out the kite, bar, lines, and harness on clear ground. Check the canopy for tears, inspect every line for knots, and make sure the safety release moves freely. Wear a properly fitted helmet and buoyancy aid. Ask an experienced instructor to check your setup if anything seems unfamiliar. A tidy launch area matters; loose lines can catch on people or equipment.
Wind can look gentle on shore and feel very different a few metres out. Check a current local forecast, then watch the water for gusts, shifting direction, and whitecaps. Avoid offshore wind, storms, and conditions beyond your training. Look for swimmers, boats, rocks, and shallow patches before choosing a launch and landing area. Keep a clear route back to shore. It is easy to feel ready after a quick glance; that is not a reliable assessment.
Tips: Check the quick release before each session, and tell someone where you plan to ride. If the wind strengthens or the water becomes crowded, return to shore. Beginners sometimes misjudge changing conditions, including careful ones, so pause and reassess rather than forcing a session.
Top 10 Kiteboarding Techniques for Beginners - Preparing Equipment and Assessing Wind and Water Conditions
| # | Technique | Preparation or Action | Wind and Water Checks | Beginner Safety Point |
|---|---|---|---|---|
| 1 | Check the forecast before traveling | Review a current local marine or wind forecast, including expected changes during the session. Confirm that the forecast suits your training level and equipment. | Look for wind speed and direction, gusts, storm warnings, and changing weather. Compare the forecast with conditions observed at the beach. | Do not launch if thunderstorms, rapidly changing weather, or conditions beyond your instruction or ability are expected. |
| 2 | Choose a suitable launch area | Walk the launch and landing zones before unpacking. Identify a clear downwind area and enough space to handle the kite without crossing other beach users. | Check for trees, buildings, power lines, rocks, crowds, and other obstacles that can create turbulence or leave little room downwind. | Use a designated kiteboarding area where possible, and follow local rules and right-of-way guidance. |
| 3 | Assess wind direction | Use a windsock, flags, or surface indicators, and confirm the direction with an instructor before setting up. | Onshore wind blows from the water toward land; offshore wind blows from land toward water; cross-shore wind runs roughly along the shoreline. | Avoid offshore conditions as a beginner because equipment or a rider can be carried away from shore. Onshore wind can also push a rider toward obstacles, so location and supervision matter. |
| 4 | Look for gusts and wind shadows | Observe flags, trees, water texture, and nearby wind indicators for several minutes rather than relying on a single reading. | Buildings, cliffs, trees, and terrain can make wind turbulent or inconsistent. Darker, rougher patches on the water may indicate stronger wind, though they are not a precise measurement. | If the wind is highly gusty, turbulent, or noticeably changing, postpone practice and ask a qualified instructor to assess it. |
| 5 | Inspect the water and exit route | Identify a clear route back to shore and note where you could land if you drift. Check local hazards before entering the water. | Look for currents, shore break, waves, shallow sandbars, rocks, reefs, boats, and water users. Conditions can vary across a short distance. | Do not assume you can swim against a current while managing equipment. Stay within the area and conditions recommended by your instructor. |
| 6 | Select suitable equipment with instruction | Have an instructor help match the kite and board to your weight, skill, wind conditions, and local environment. Use equipment in good condition. | Wind strength, gustiness, water state, and rider size all affect equipment choice; there is no single kite size that is appropriate for every beginner. | Never choose a larger kite simply to compensate for light wind. Follow the equipment manufacturer’s limits and your instructor’s guidance. |
| 7 | Inspect the kite and control system | Check the kite for damage and confirm that valves, inflation, bridle lines, flying lines, bar, and safety systems are correctly set up. | Keep lines away from sharp objects and people. Make sure the launch area is clear and the kite is not exposed to unsuitable gusts while being prepared. | Learn how to activate and reset the quick-release systems on the specific equipment before launching, ideally under instructor supervision. |
| 8 | Use protective equipment and secure essentials | Wear a suitable helmet and impact protection as appropriate, and use a properly fitted harness. Secure loose items and protect against sun exposure. | Consider water temperature, air temperature, and expected time in the water when choosing thermal protection. | Equipment reduces some risks but does not replace training, supervision, or the ability to release the kite when necessary. |
| 9 | Complete a line and safety check | Lay out lines without tangles, verify that left and right lines are correctly connected, and test the safety system as instructed. | Recheck that wind and water conditions have not changed during setup, and confirm that people and obstacles remain clear of the downwind zone. | Use a trained assistant for launching and landing. Do not launch if line connections, safety systems, or the launch area are uncertain. |
| 10 | Practice kite control in a controlled area | Begin with instructor-led, land-based kite-control exercises or body-dragging practice before attempting to ride a board. | Choose an open area and water conditions suitable for the lesson. Reassess wind direction, gusts, currents, and visibility throughout practice. | Do not practice alone. Stop and return to shore if conditions deteriorate, you feel fatigued, or you are unsure how to manage the kite. |
Related Posts
-
10 Essential Tips for Choosing Kiteboarding Boards for Every Skill Level?
-
Kiteboarding Performance Best Tips for Maximum Speed and Control?
-
Why Choose Freeride Kiteboarding for Your Next Adventure?
-
Best Kiteboarding Kites for Global Buyers in 2026?
-
China Top Lightwind Kiteboarding Manufacturers and Suppliers
-
Why Choose Freeride Kiteboarding Gear for Global Buyers?